How to create additional users for 2FA in pfSense
Creating a FreeRADIUS User
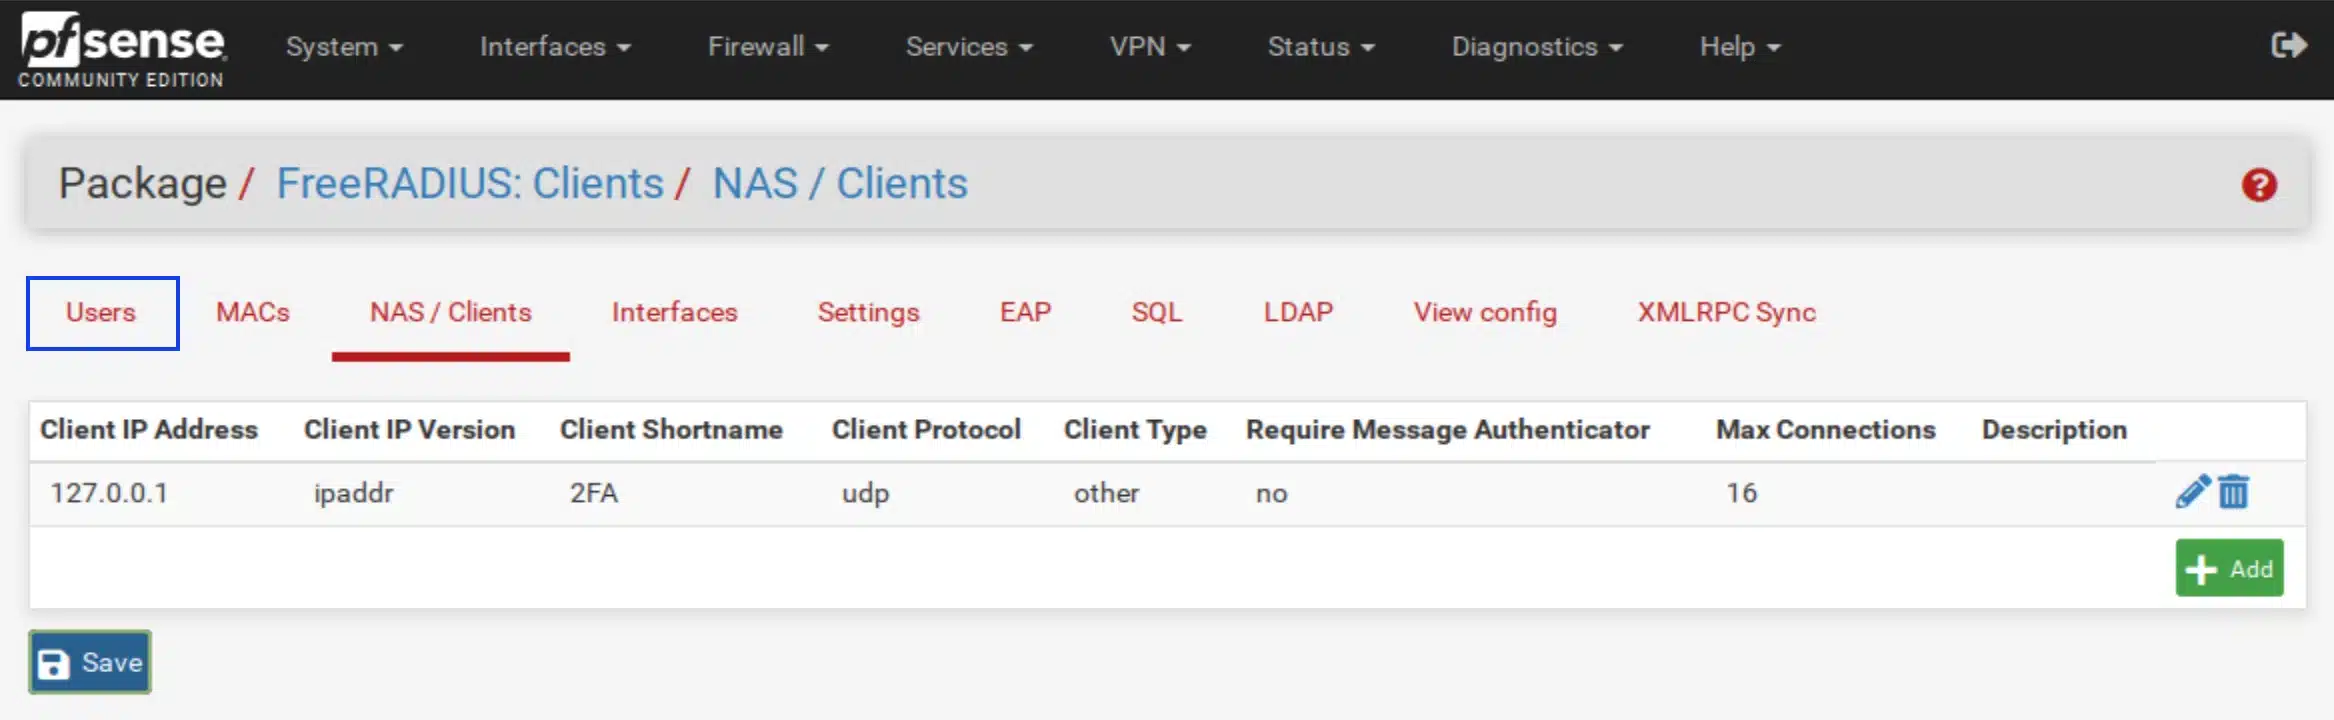
1. From the FreeRADIUS main settings page under Services -> FreeRADIUS, select the Users tab. The main Users settings page is displayed.
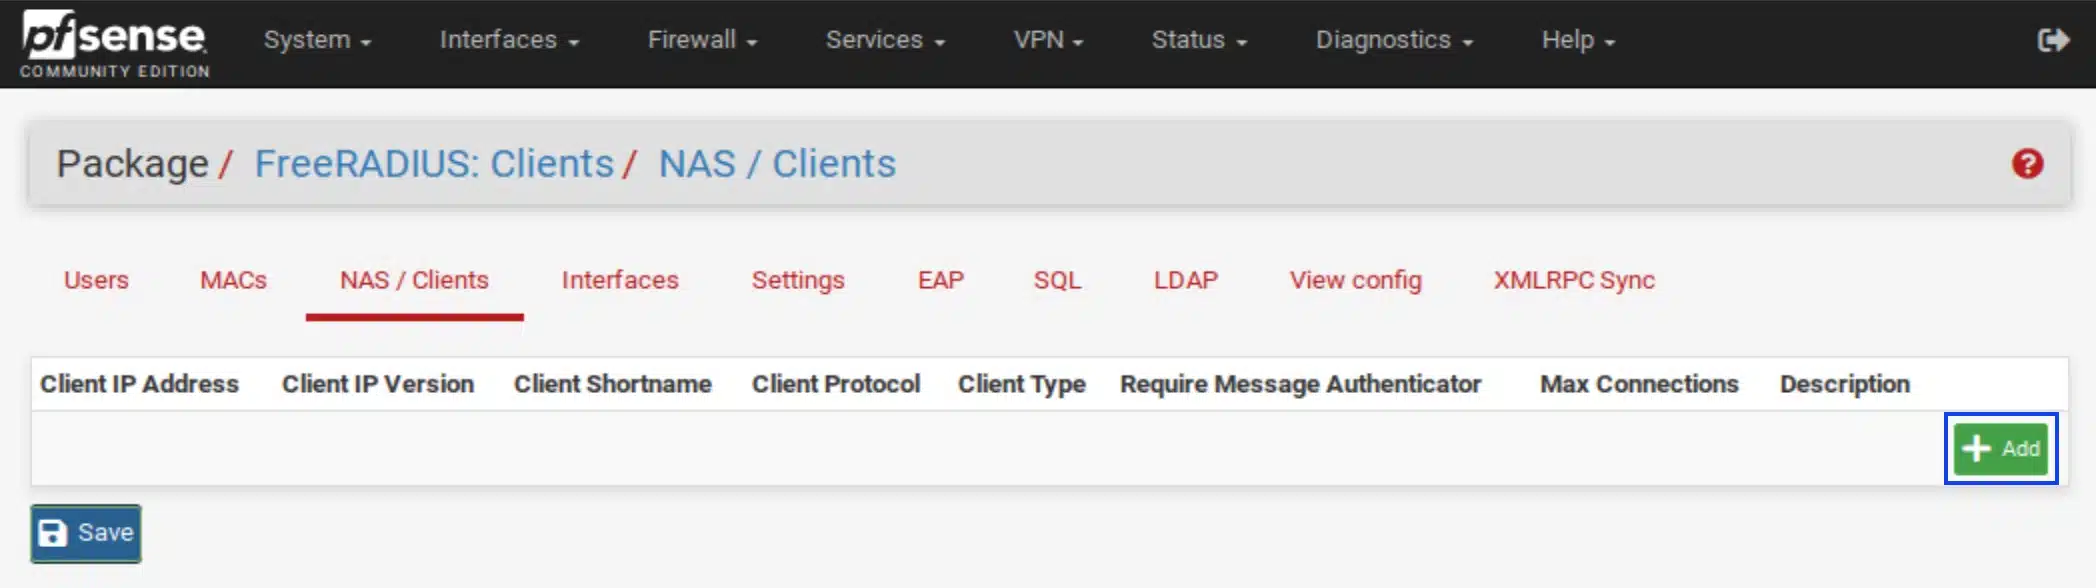
2. Click Add. The Users main settings page is displayed.
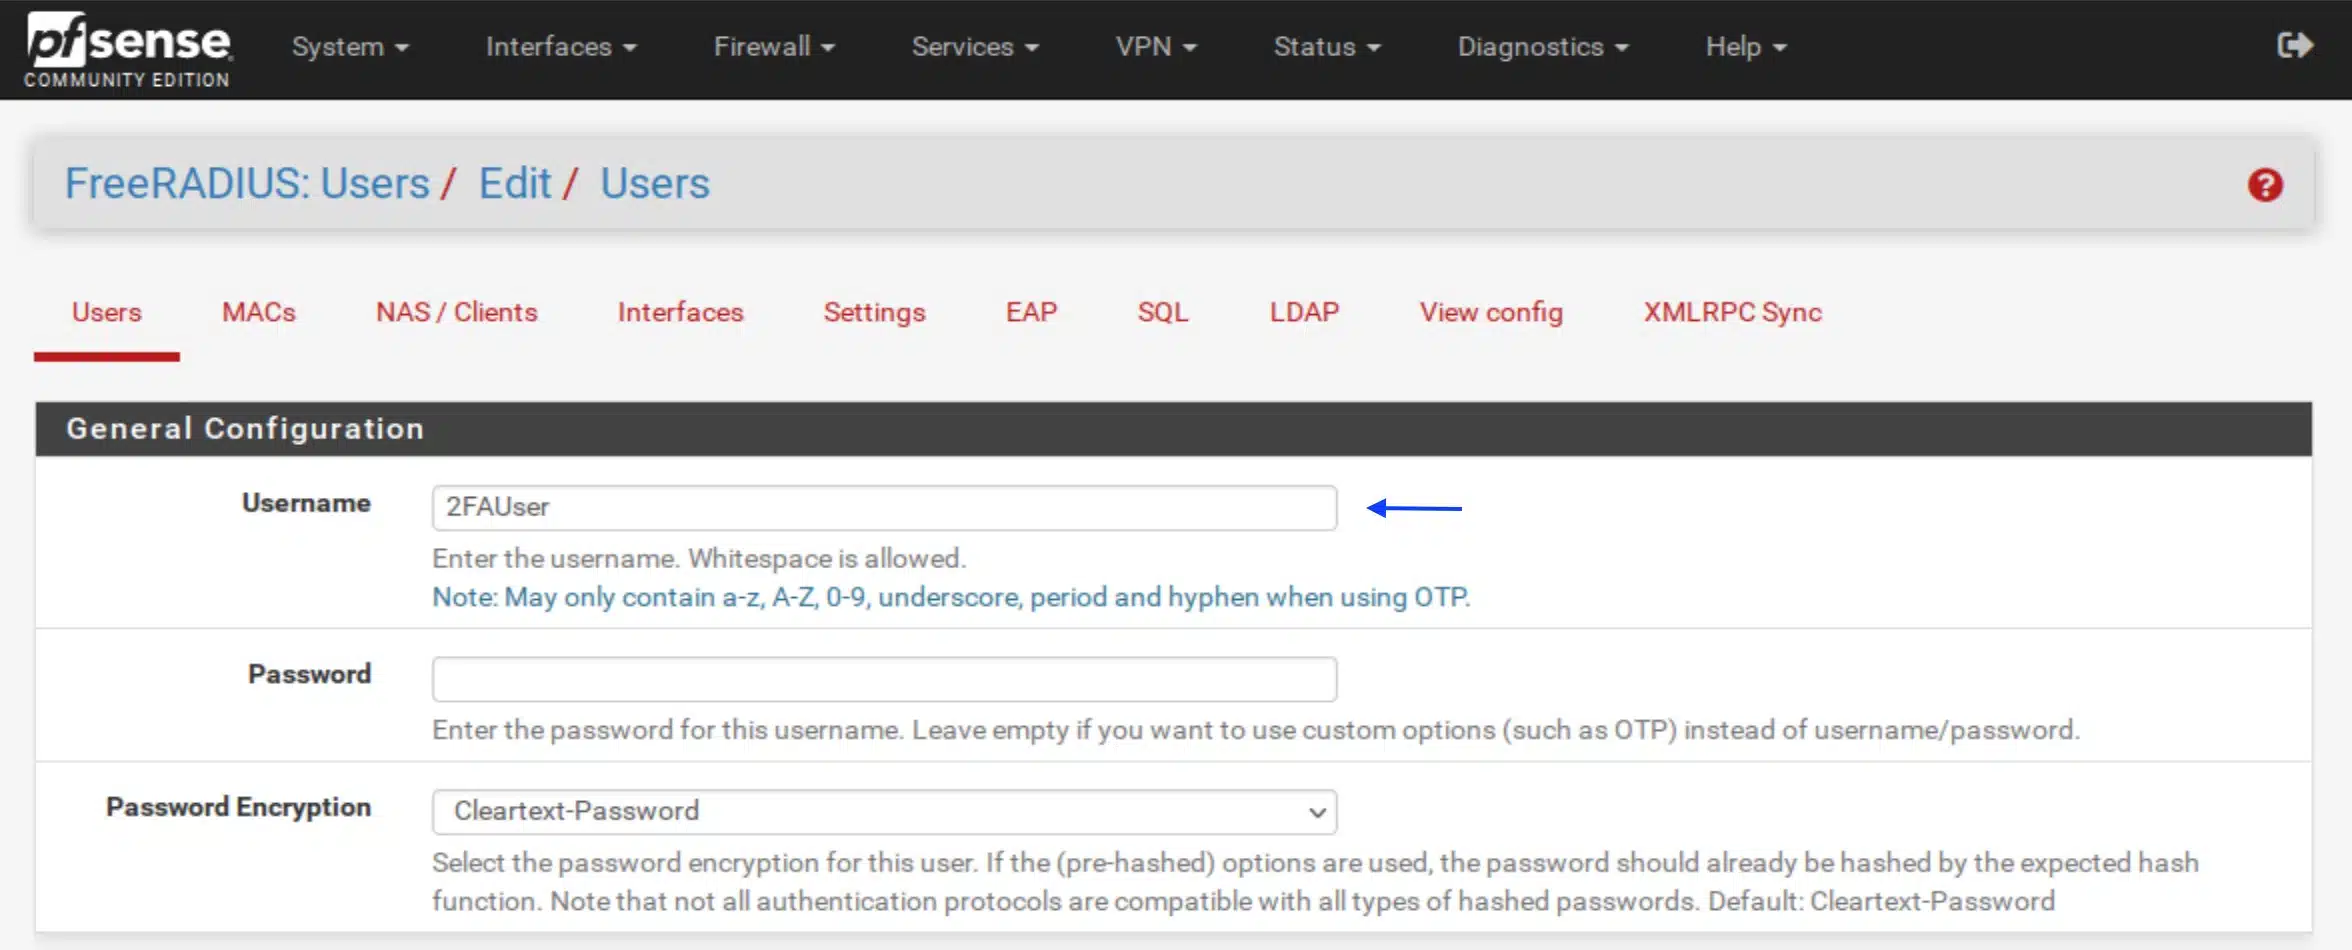
3. In the General Configuration section, enter a name for the new user. We’re using 2FAUser in our example.
4. Scroll down the page to find the One-Time Password Configuration section.
5. Tick the Enable One-Time Password (OTP) for this user box.
6. From the OTP Auth Method drop-down menu, select Google Authenticator. We will be using the Google Authenticator app to generate our one-time passwords. Other clients are available for both iOS and Android, but for simplicity’s sake, we’ll be using Google Authenticator in our example. The app does not require you to have a Google account, nor does it require an internet connection. Using the app does not give Google any visibility into your activities or your one-time passwords. But, by all means, feel free to use one of the many alternatives.
7. Click the Generate OTP Secret button to generate an OTP secret, displayed in the Init-Secret field above.
8. Click the Show OTP PIN button to be able to see the OTP PIN you enter in the PIN field above. The OTP PIN is considered your user password. And it will be used alongside the OTP to authenticate and log into the pfSense GUI. Your OTP PIN must consist of 4 to 6 numbers. In our example, we’re using 123456, which I don’t recommend using in a real-world scenario.
9. Click the Generate QR Code button to generate a QR code that we’ll be able to scan with our camera when we configure Google Authenticator in the next step, and click Save at the bottom of the page.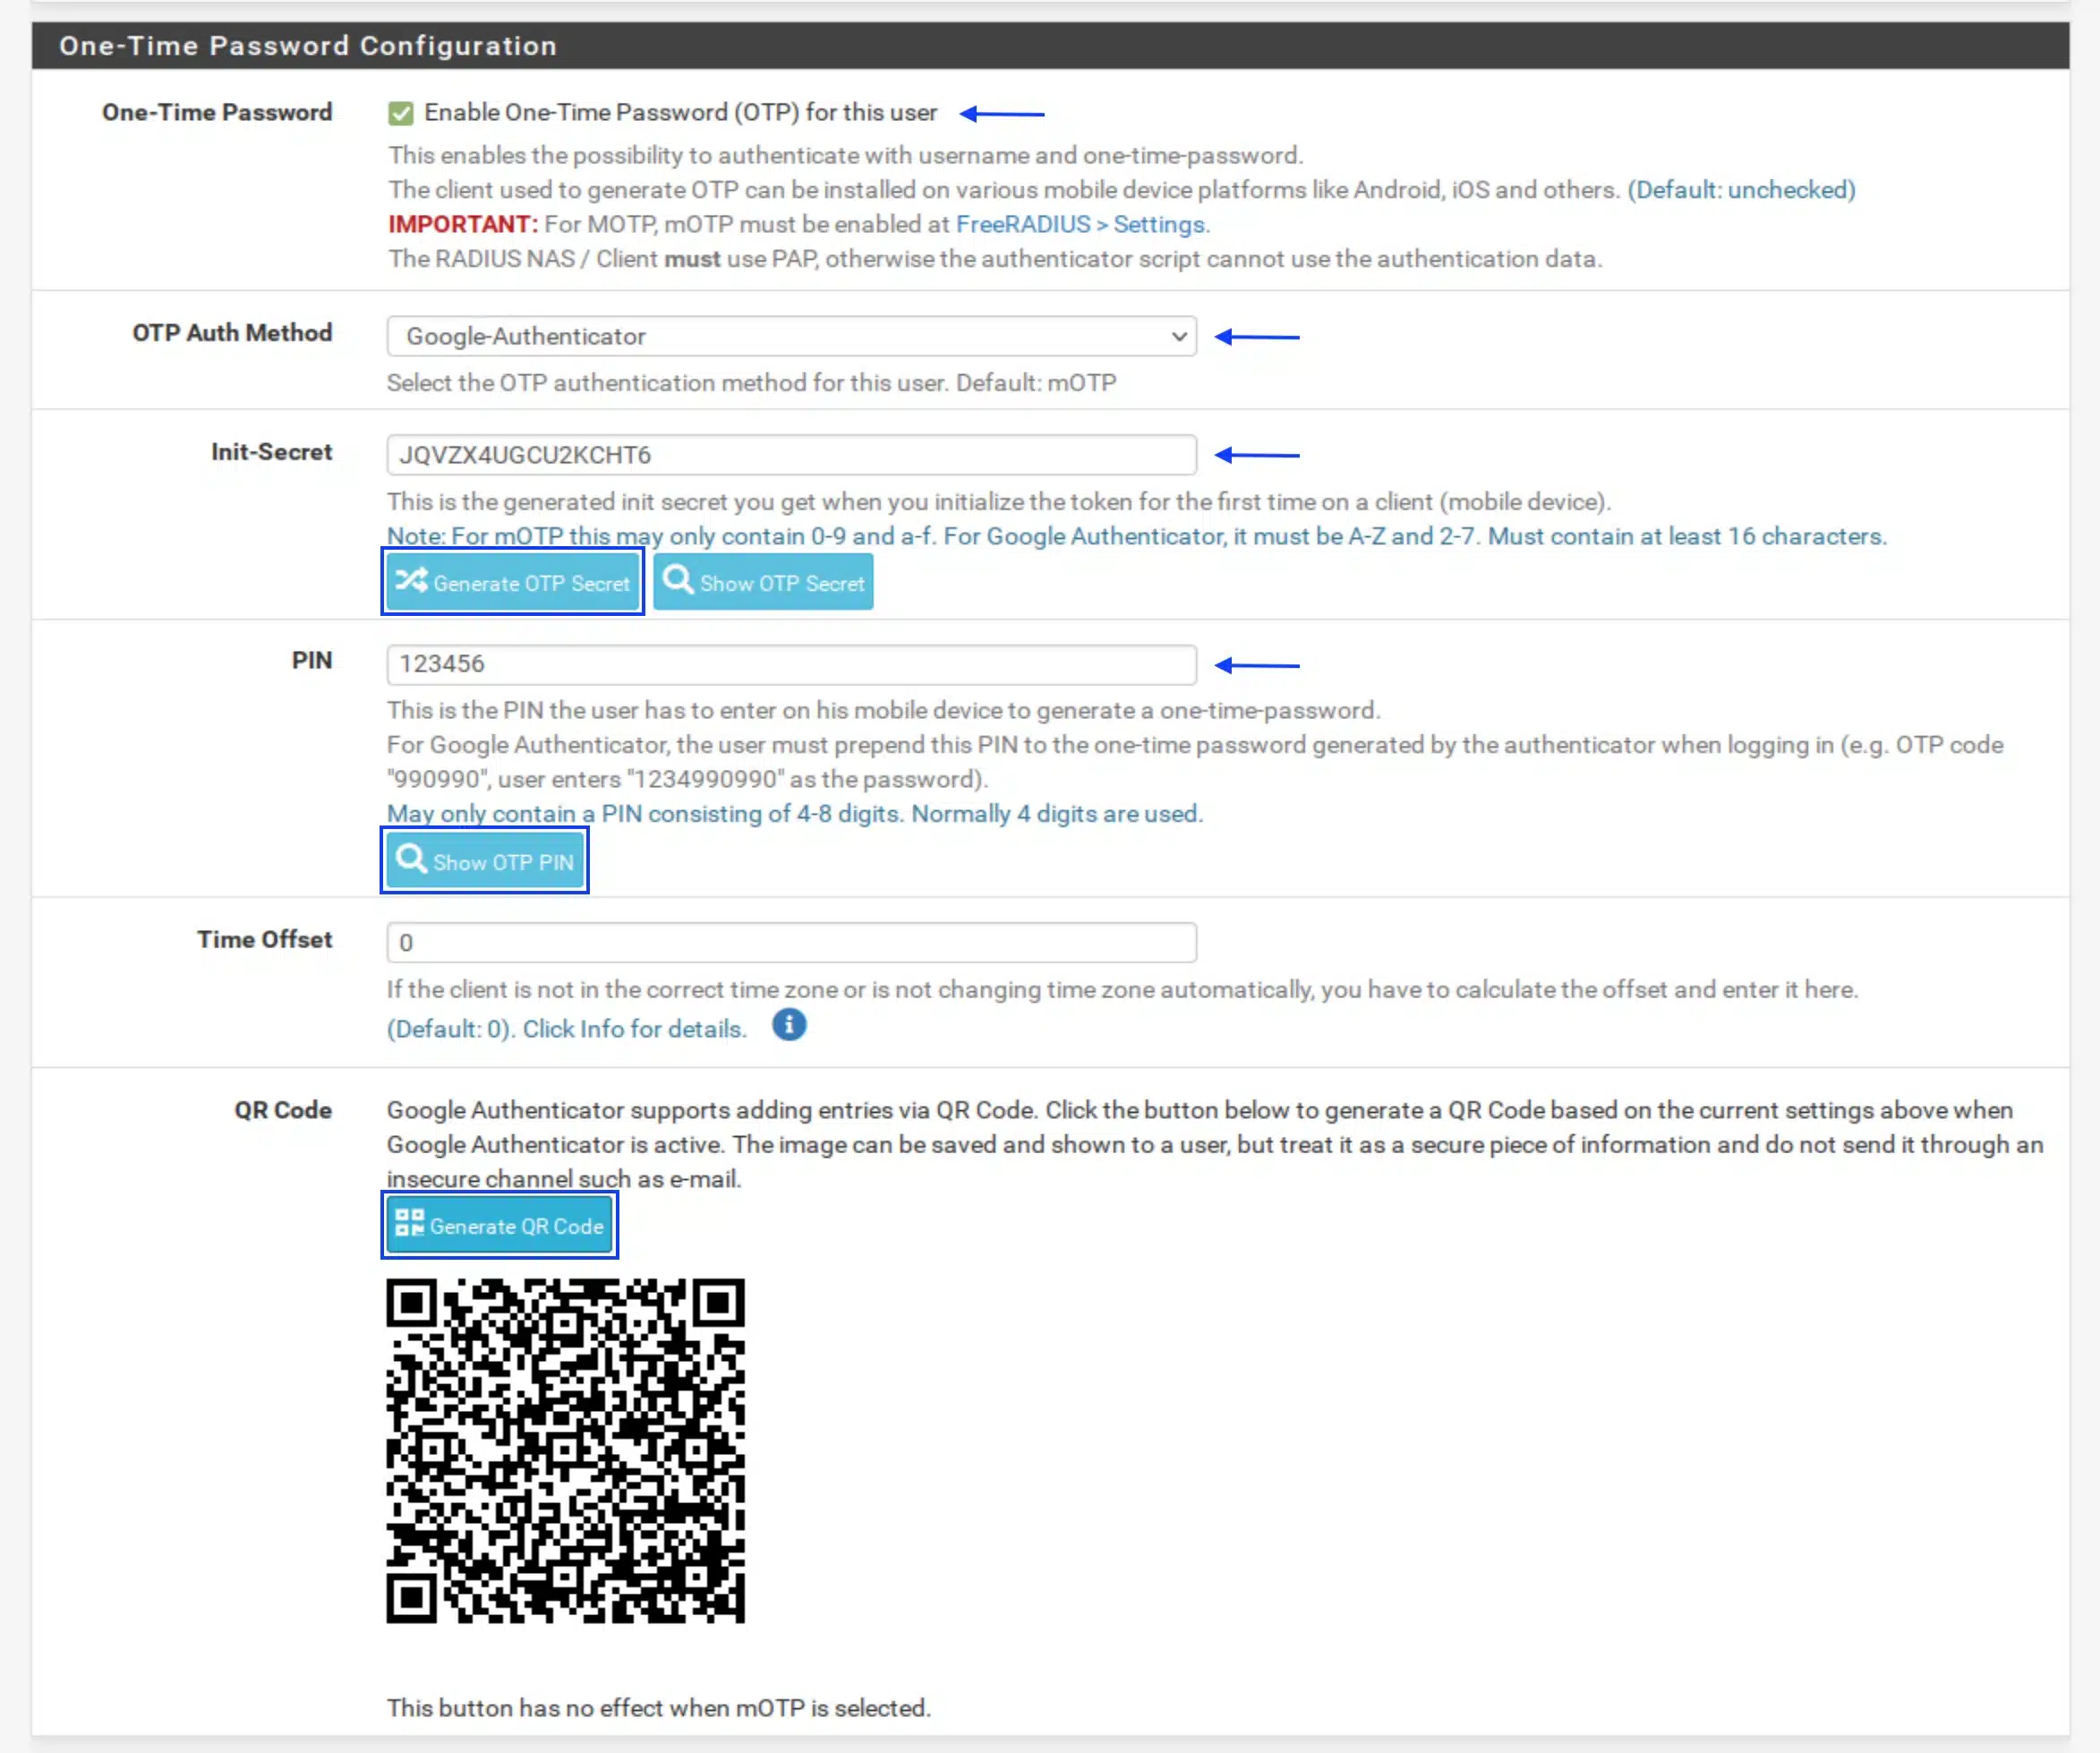
Configuring Google Authenticator
Once you’ve downloaded Google Authenticator onto your phone, configuring it is simple.
1. Launch the app.
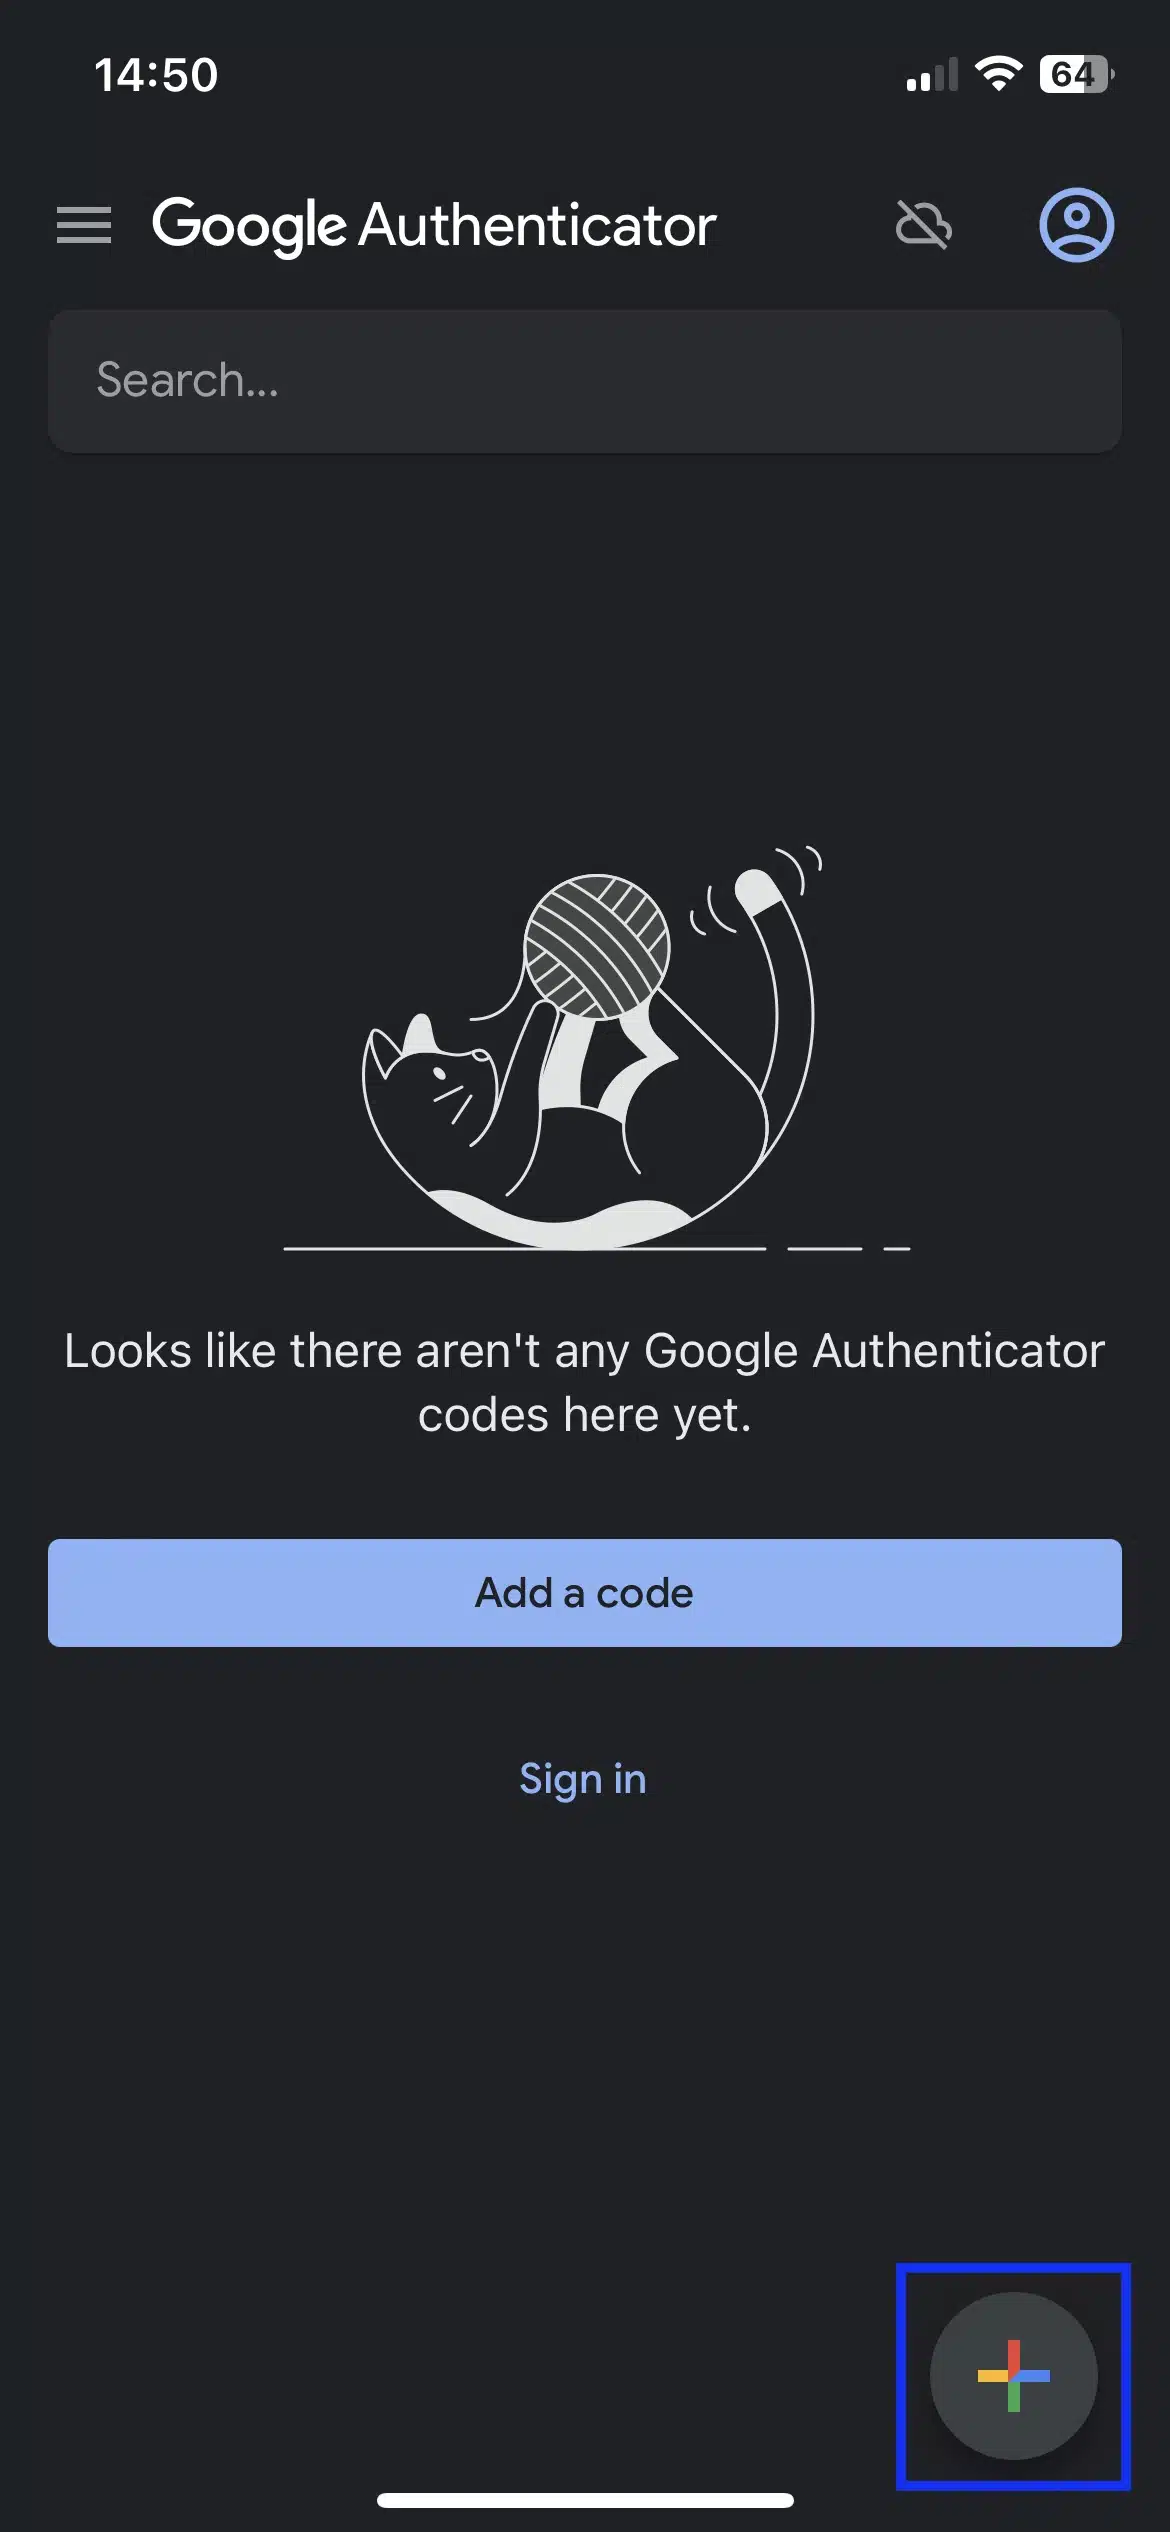
2. Click the Add a code button or the + sign at the bottom right of the UI. You’re prompted to scan a QR code with your camera or manually enter the setup key.
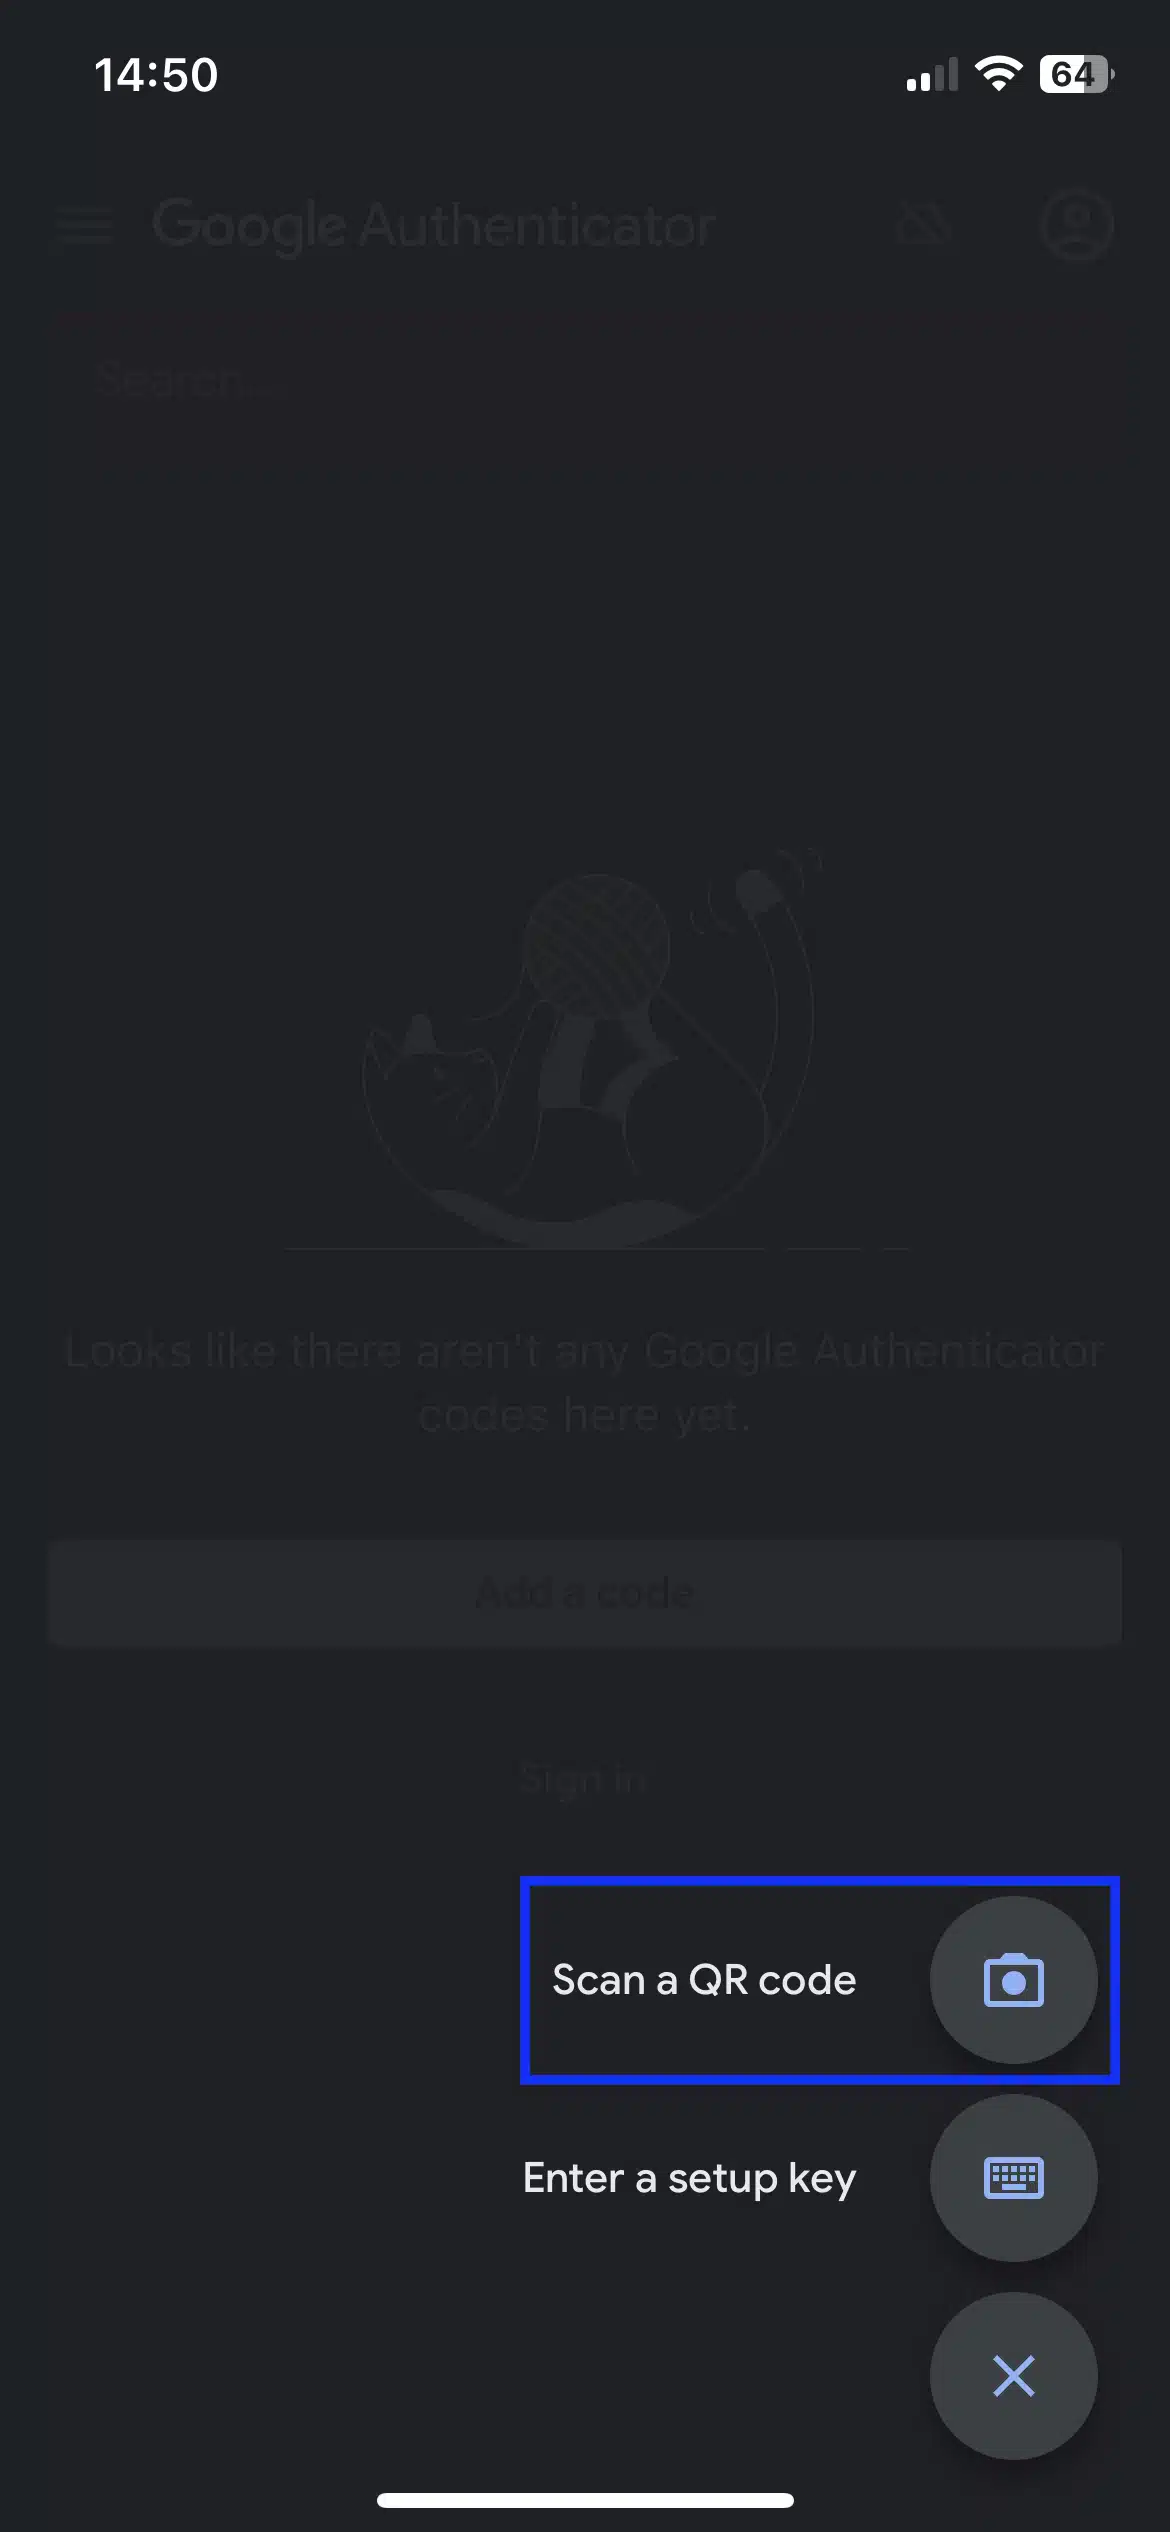
3. Select Scan a QR code. Your phone’s camera comes up. Scan the QR code we created in the previous step.
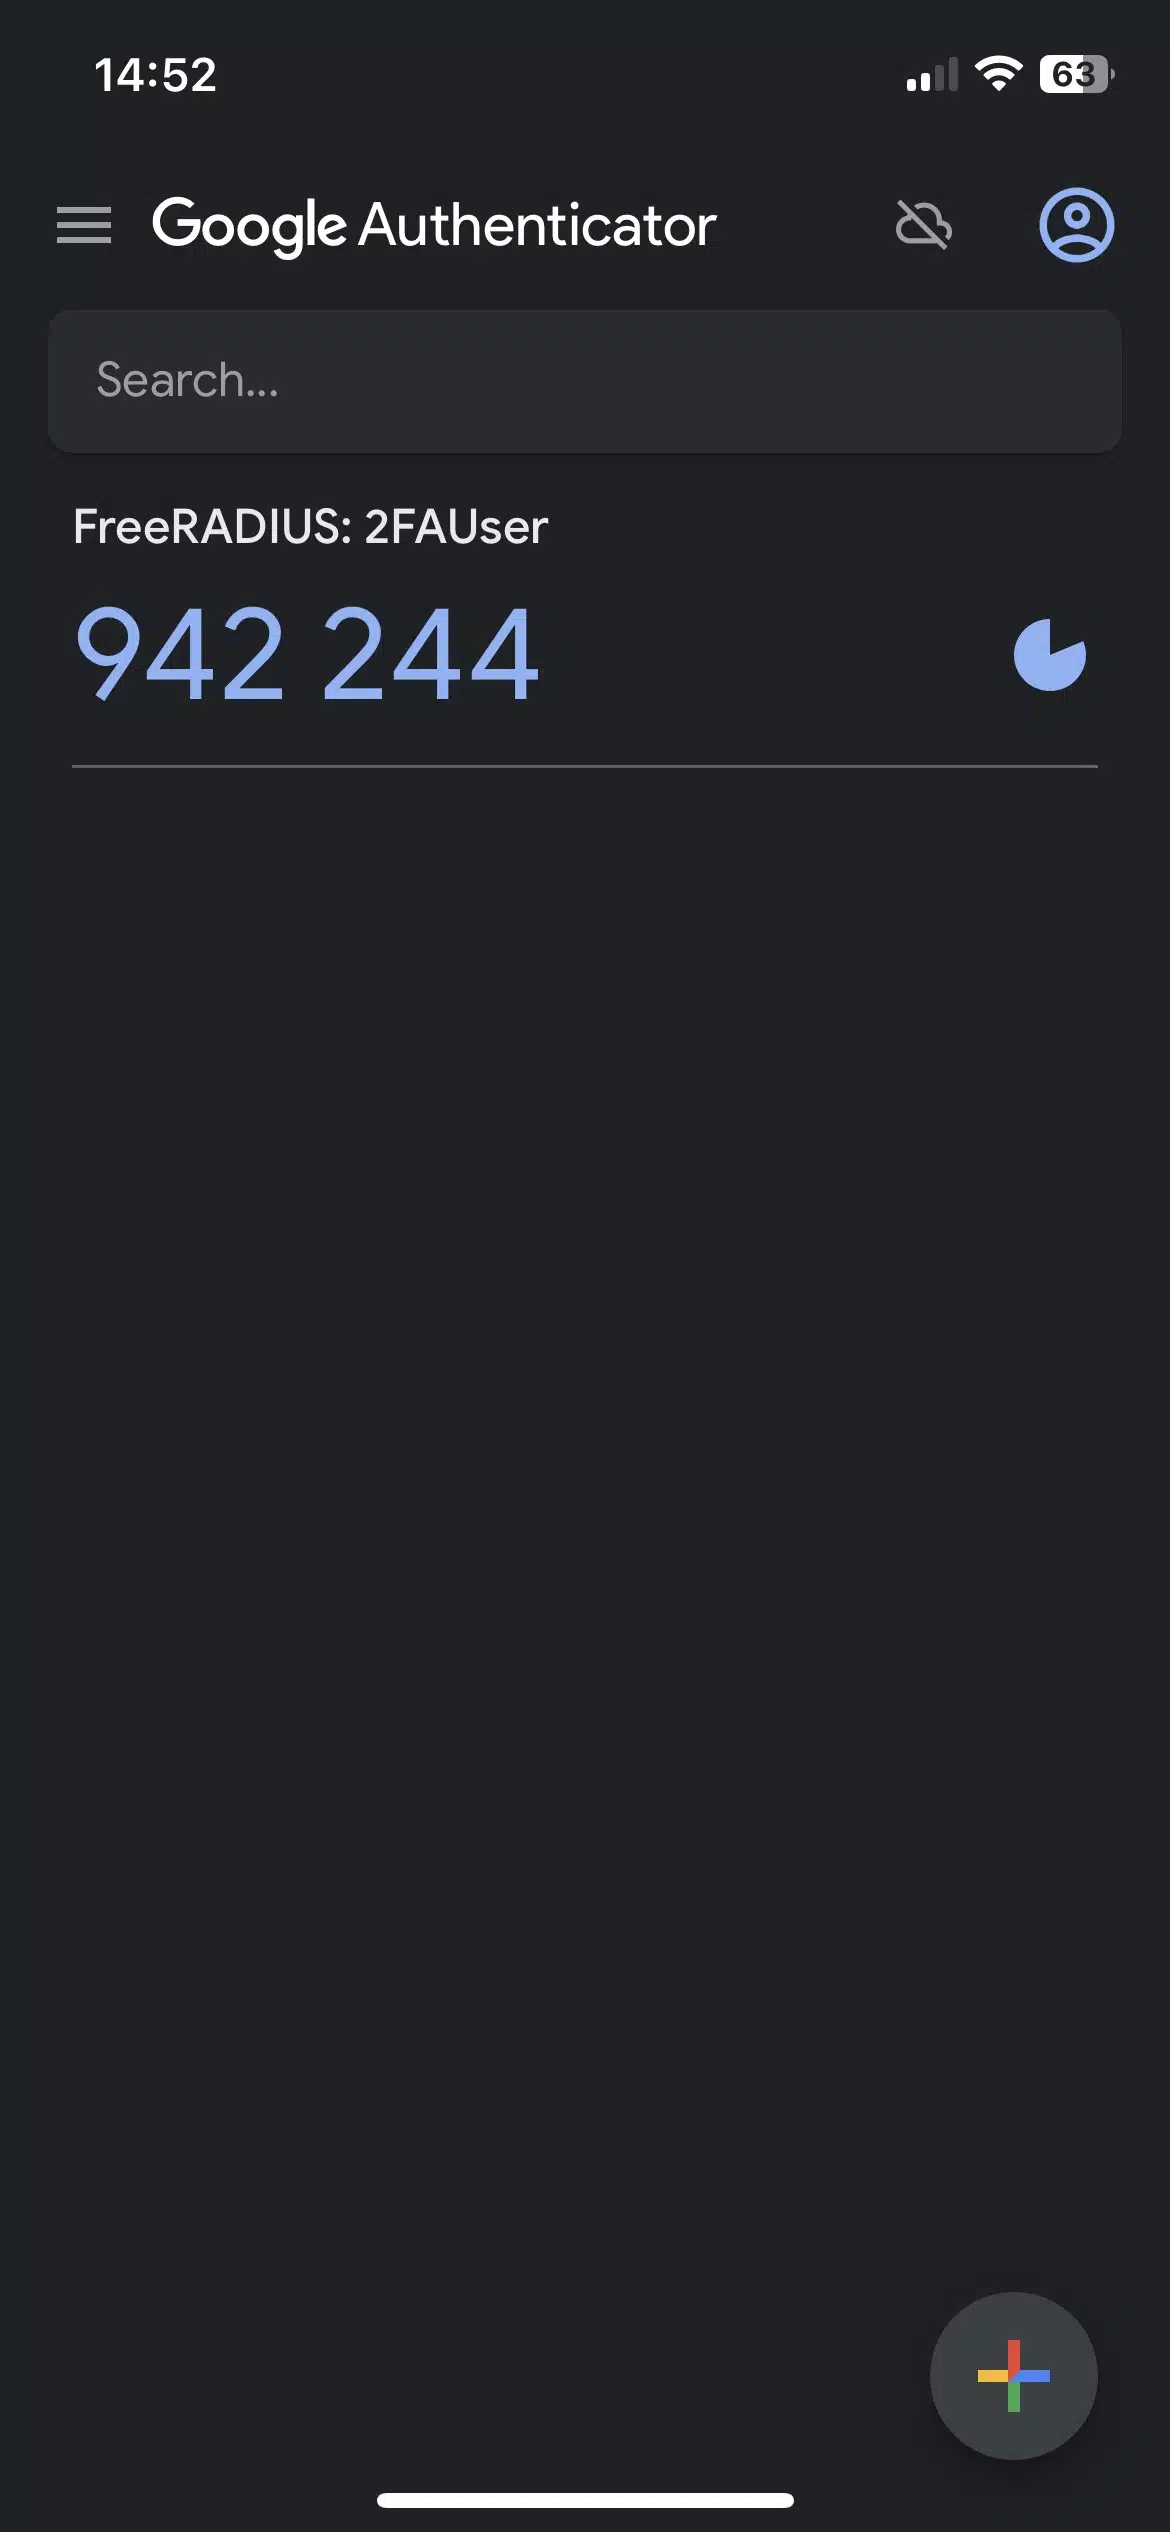
That’s it. Google Authenticator is now configured and will dynamically generate one-time passwords every 30 seconds.
How do I authenticate using 2FA? Where do I put the OTP from Google Authenticator?
When authenticating as a 2FA user, your password will be the OTP PIN + Authenticator OTP. Ex. 123456942244
OTP PIN: Always the same. Set in the FreeRADIUS user configuration.
Authenticator OTP: The number on Google Authenticator that changes every 30 seconds.